Create Your First Permaculture Map
Six simple steps to get you started…
Reading permaculture texts is heady stuff!
But making your own map is where the real magic happens.
I made this guide to help you get started making your first map.
No matter where you are in life, you can make a permaculture map. It doesn’t matter how large or small the space that you want to map is, this process is the same. It can be your ten by ten deck or a twenty acre farm. If you are more tech savvy and have a computer mapping program you like, that is great, but I like to do it the old school way, putting pencil to paper. These steps work for either format.
Even if you don’t own your own land you can still make a permaculture map. It can be for your school, your workplace, a friend’s house, the inside of your home, a public park or the median between your apartment building and the road. Let go of the idea that you will immediately implement the plan that you create. This exercise is to help you learn to put your dreams on paper.
Drawing board or smooth table
Sharp pencils
Engineers scale ruler
Fancy coloring pencils or makers of your choice (optional)
Tracing paper large enough to fit over your base image
Binder clips or rubber bands to secure tracing layers
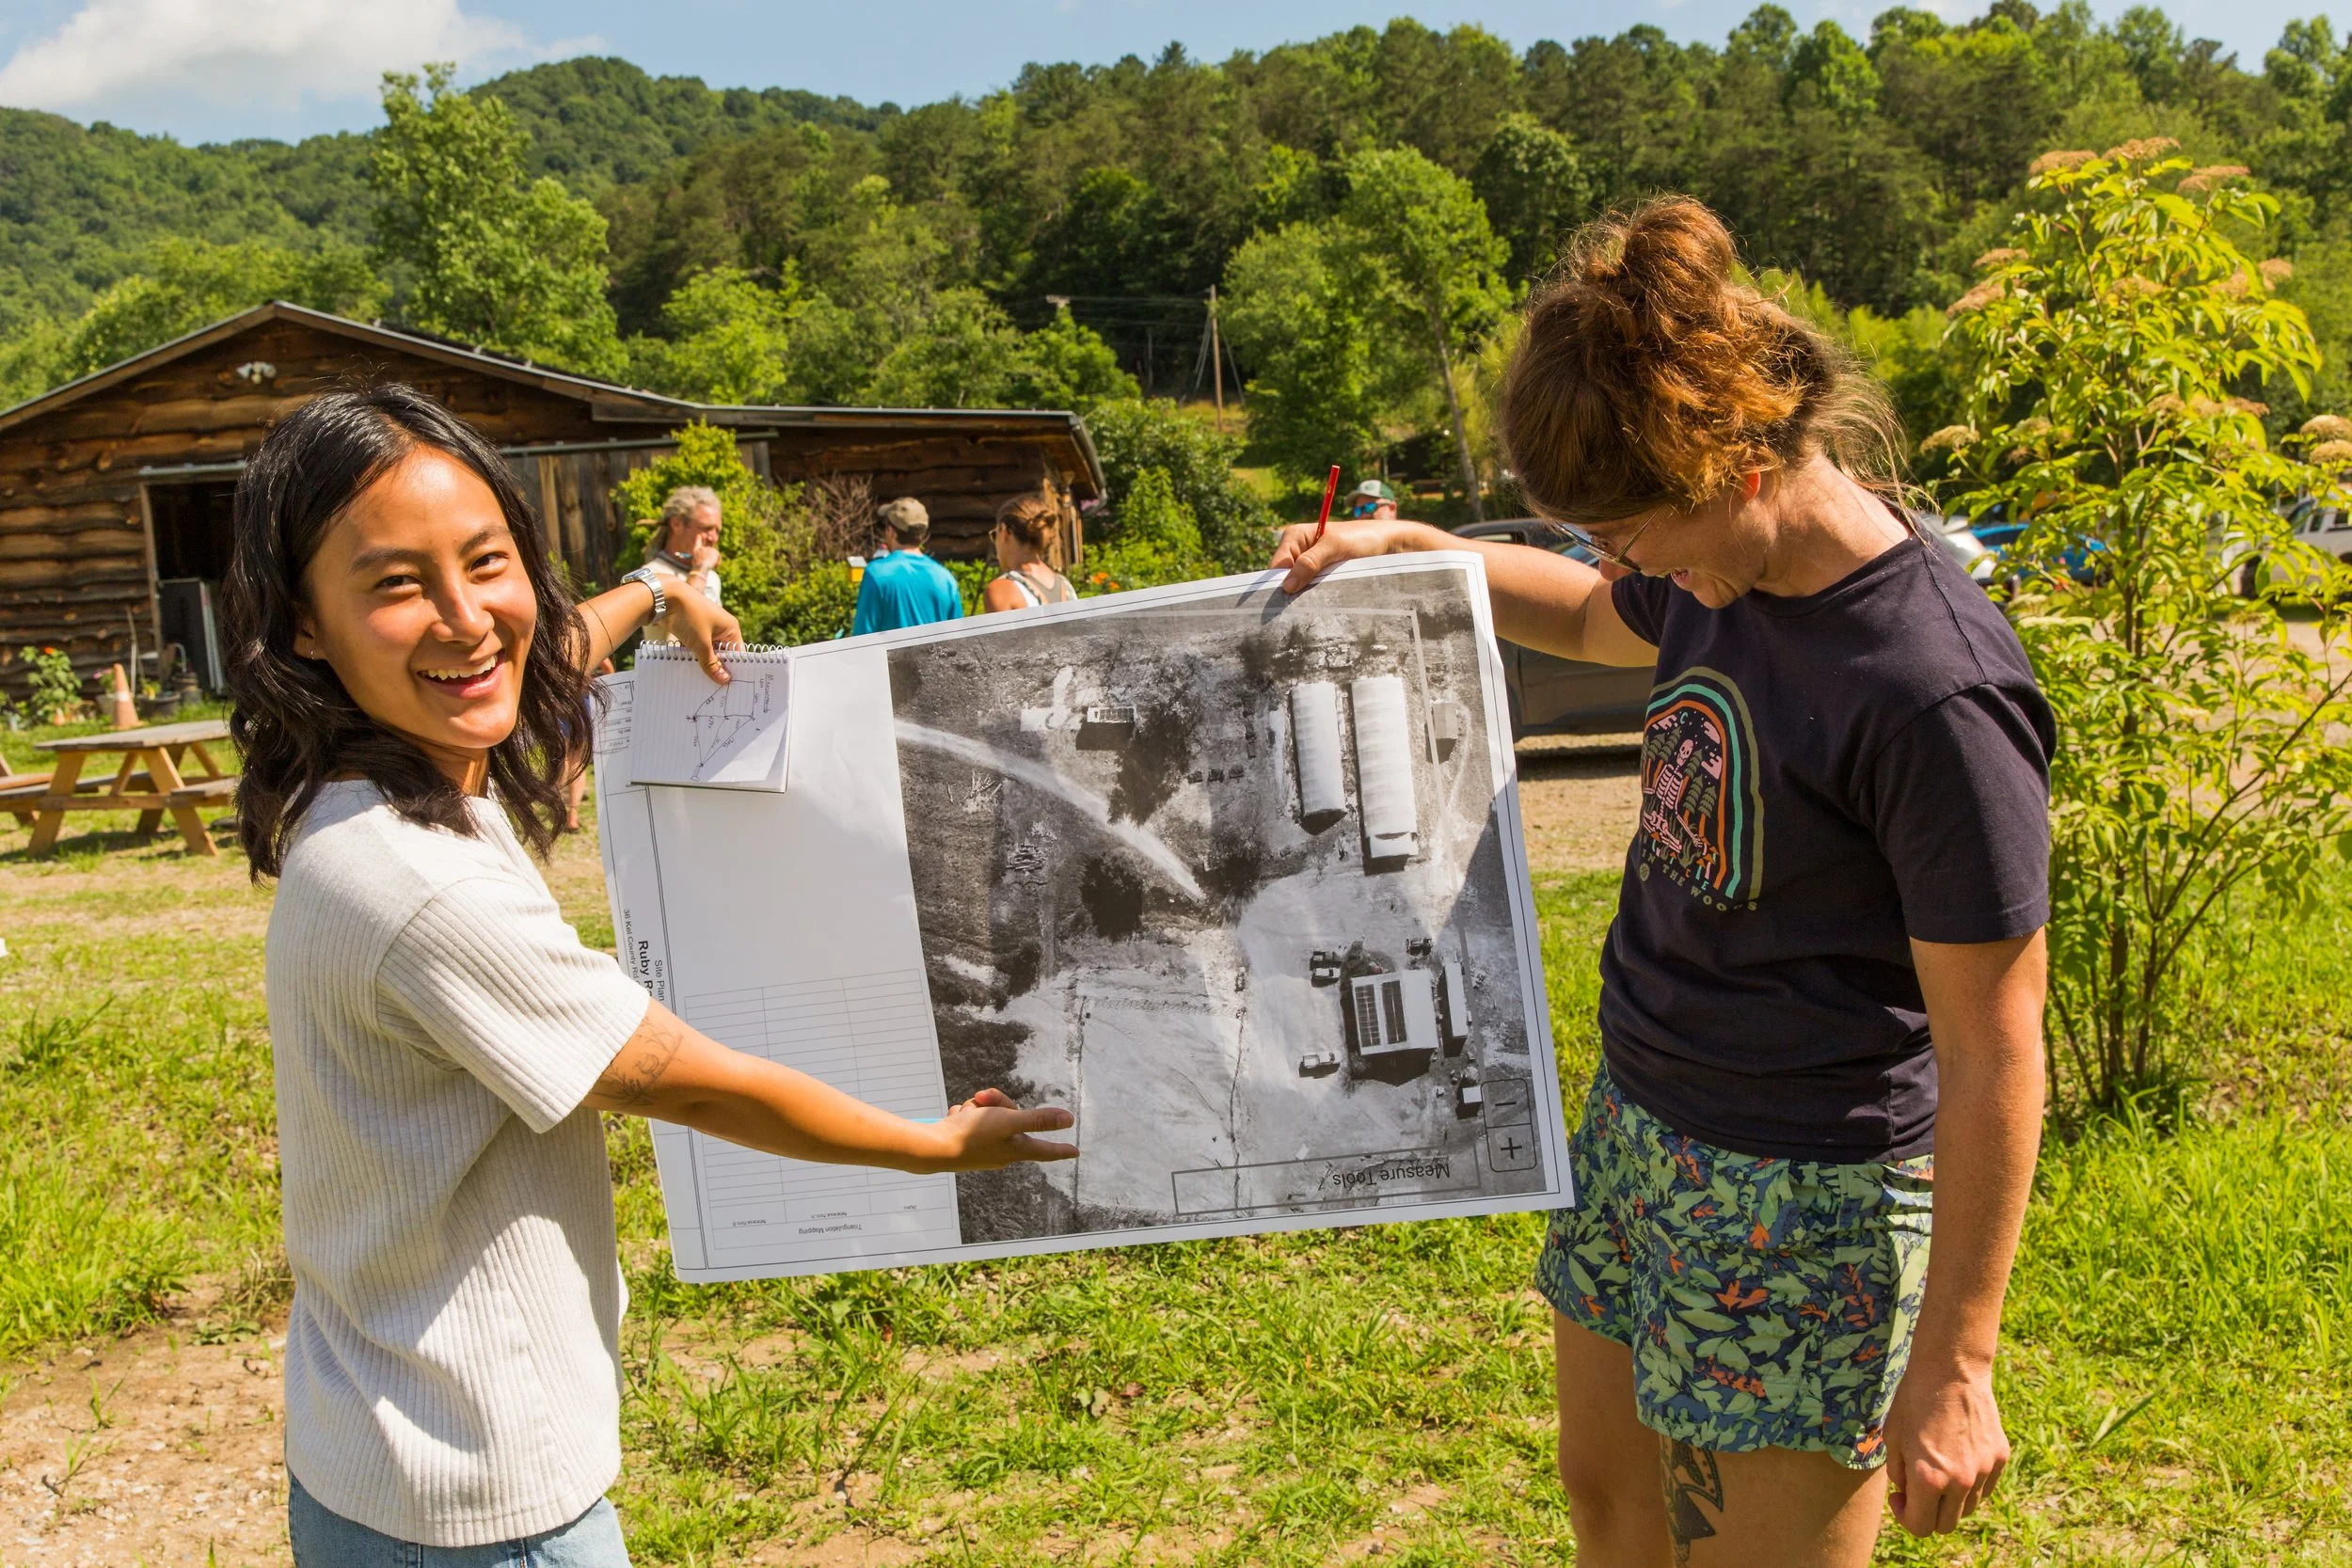
Two students holding up a base image
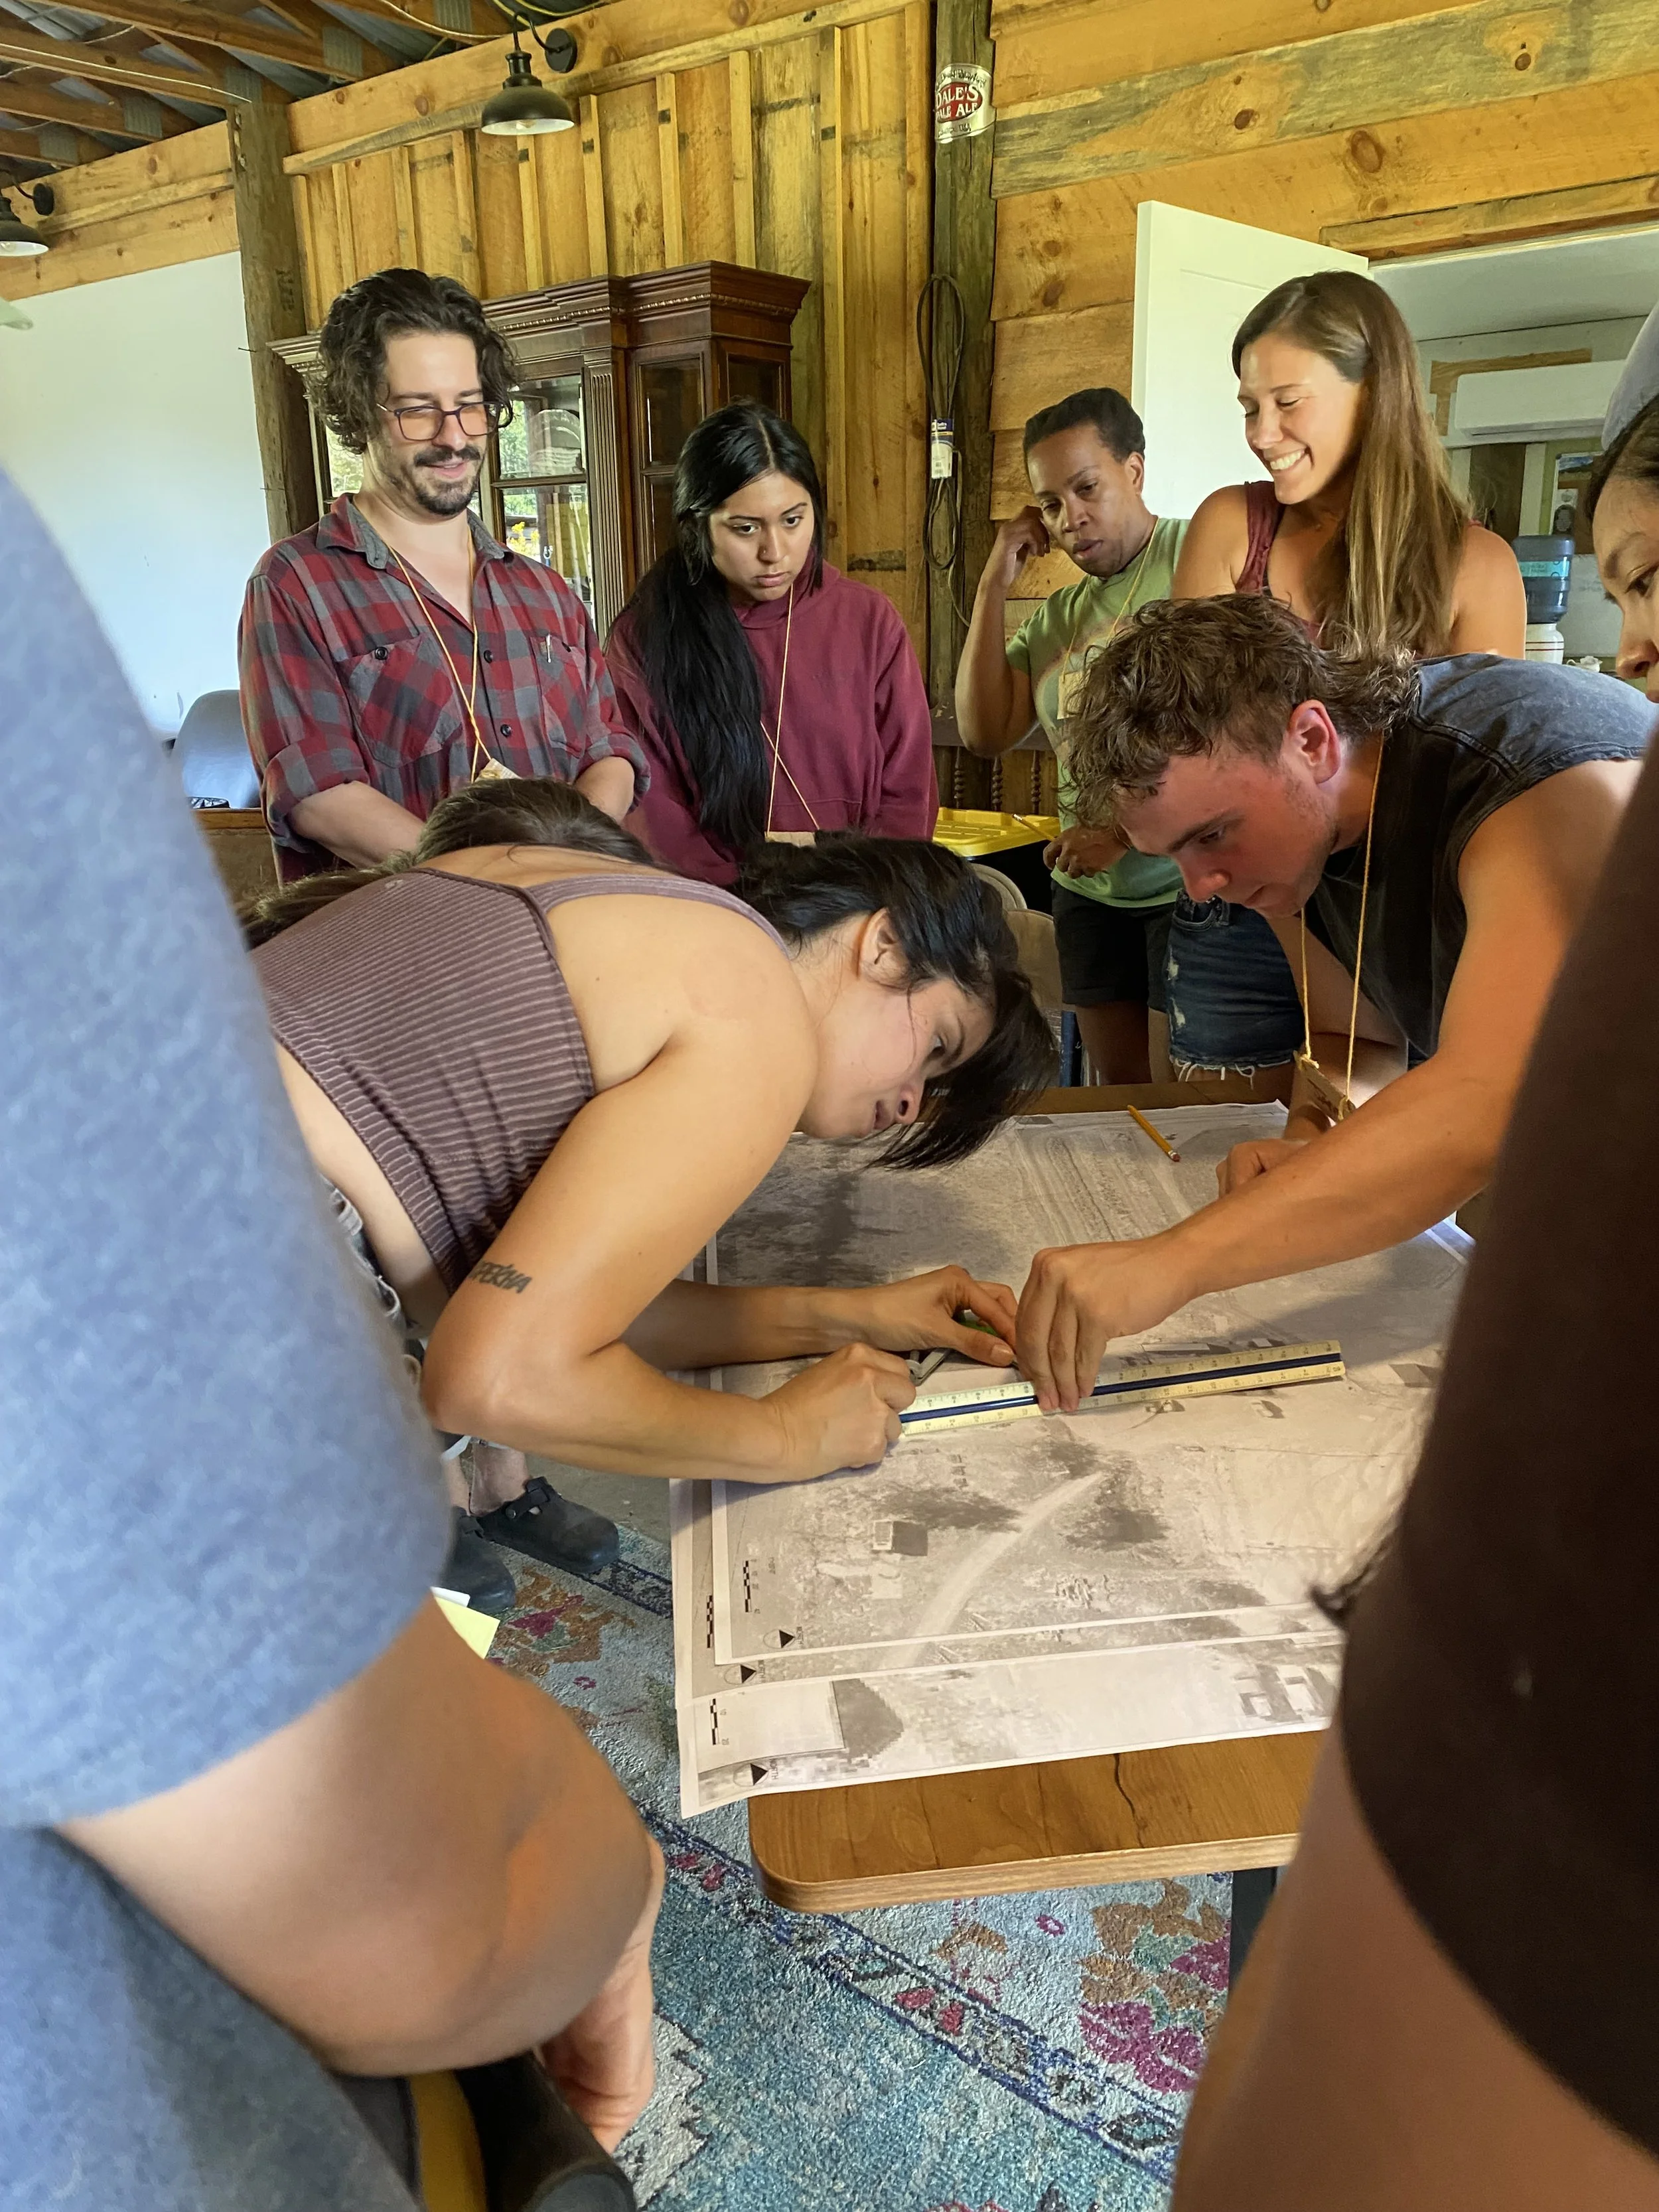
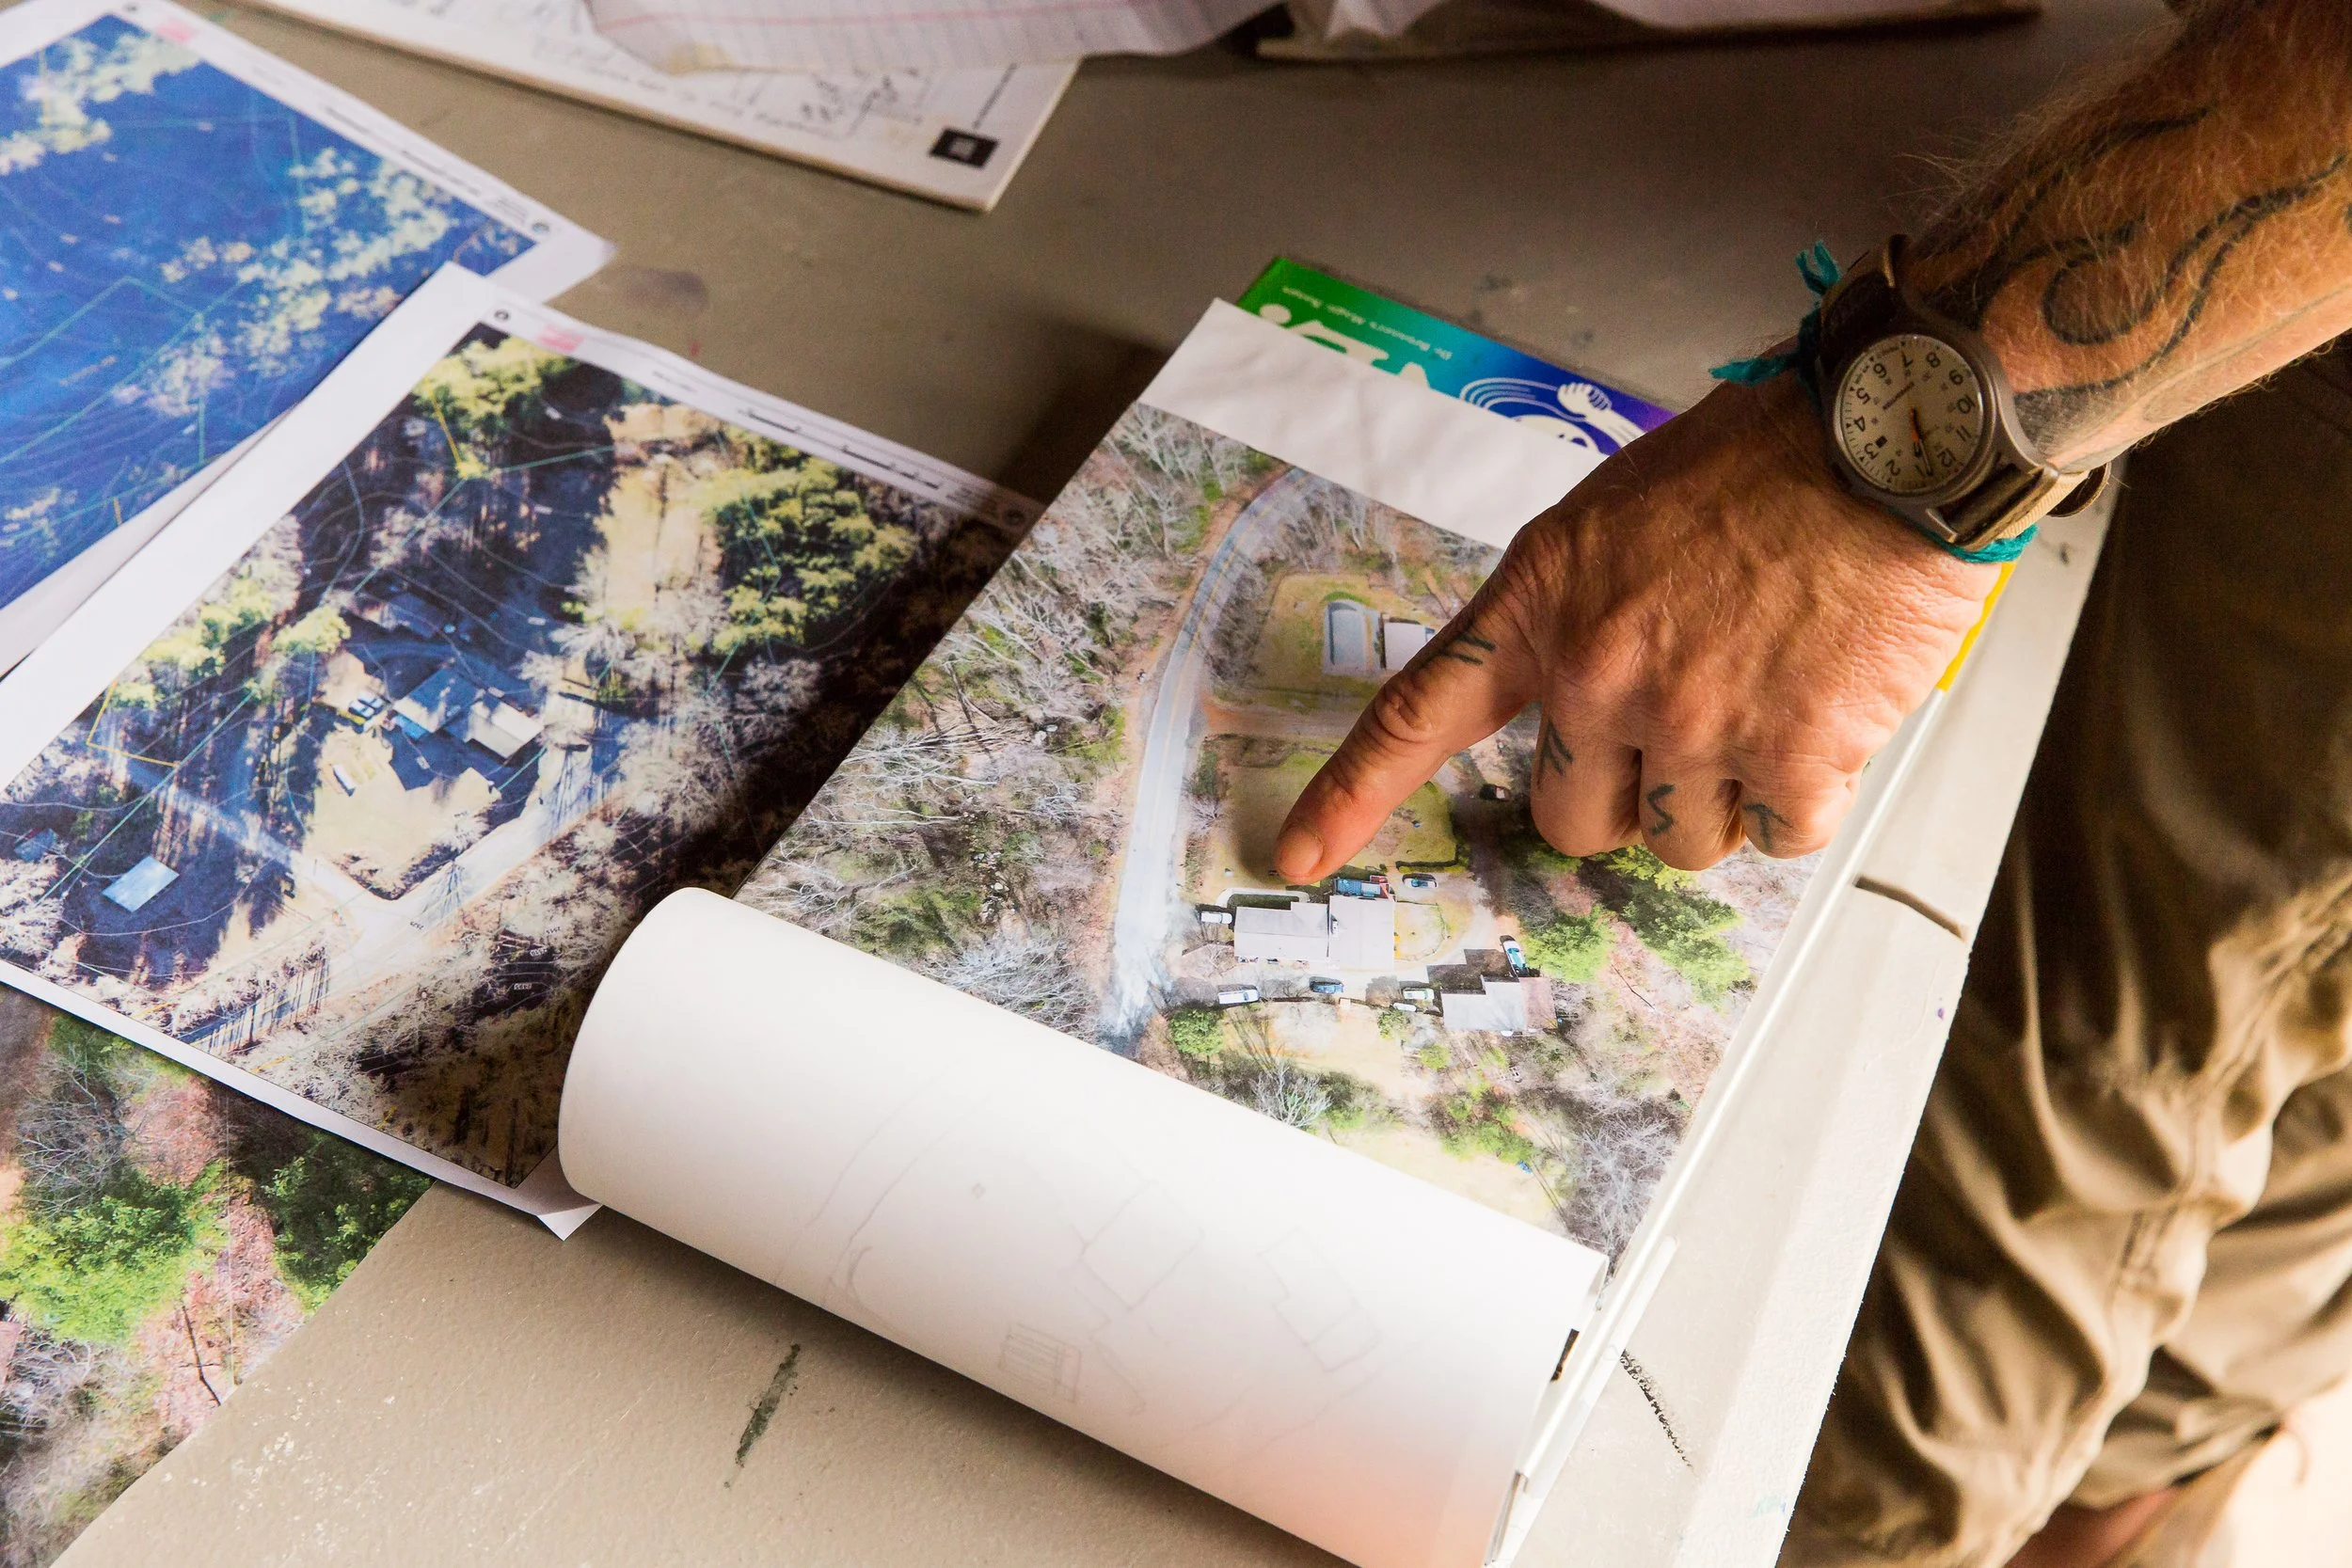
Procure your base image or map. For the space that you are planning to map you will need a to-scale image or basemap. This can look like going to your local tax accessors office and asking them to print a GIS image of your property for you, or it can look like accessing this image on google earth and having it printed at Staples. It can also look like going outside and using measuring tapes to accurately measure the space you plan to map and the immovable objects within that space (such as your house) and using triangulation techniques to make sure that objects are placed in proper relationship to one another within the space. If you are drawing by hand make sure to use your engineer’s scale ruler to decide on a scale. For a smaller space use 10ft to 1 inch or 5ft to 1 inch. (if you do not have a base image from GIS combine steps 1 and 2).
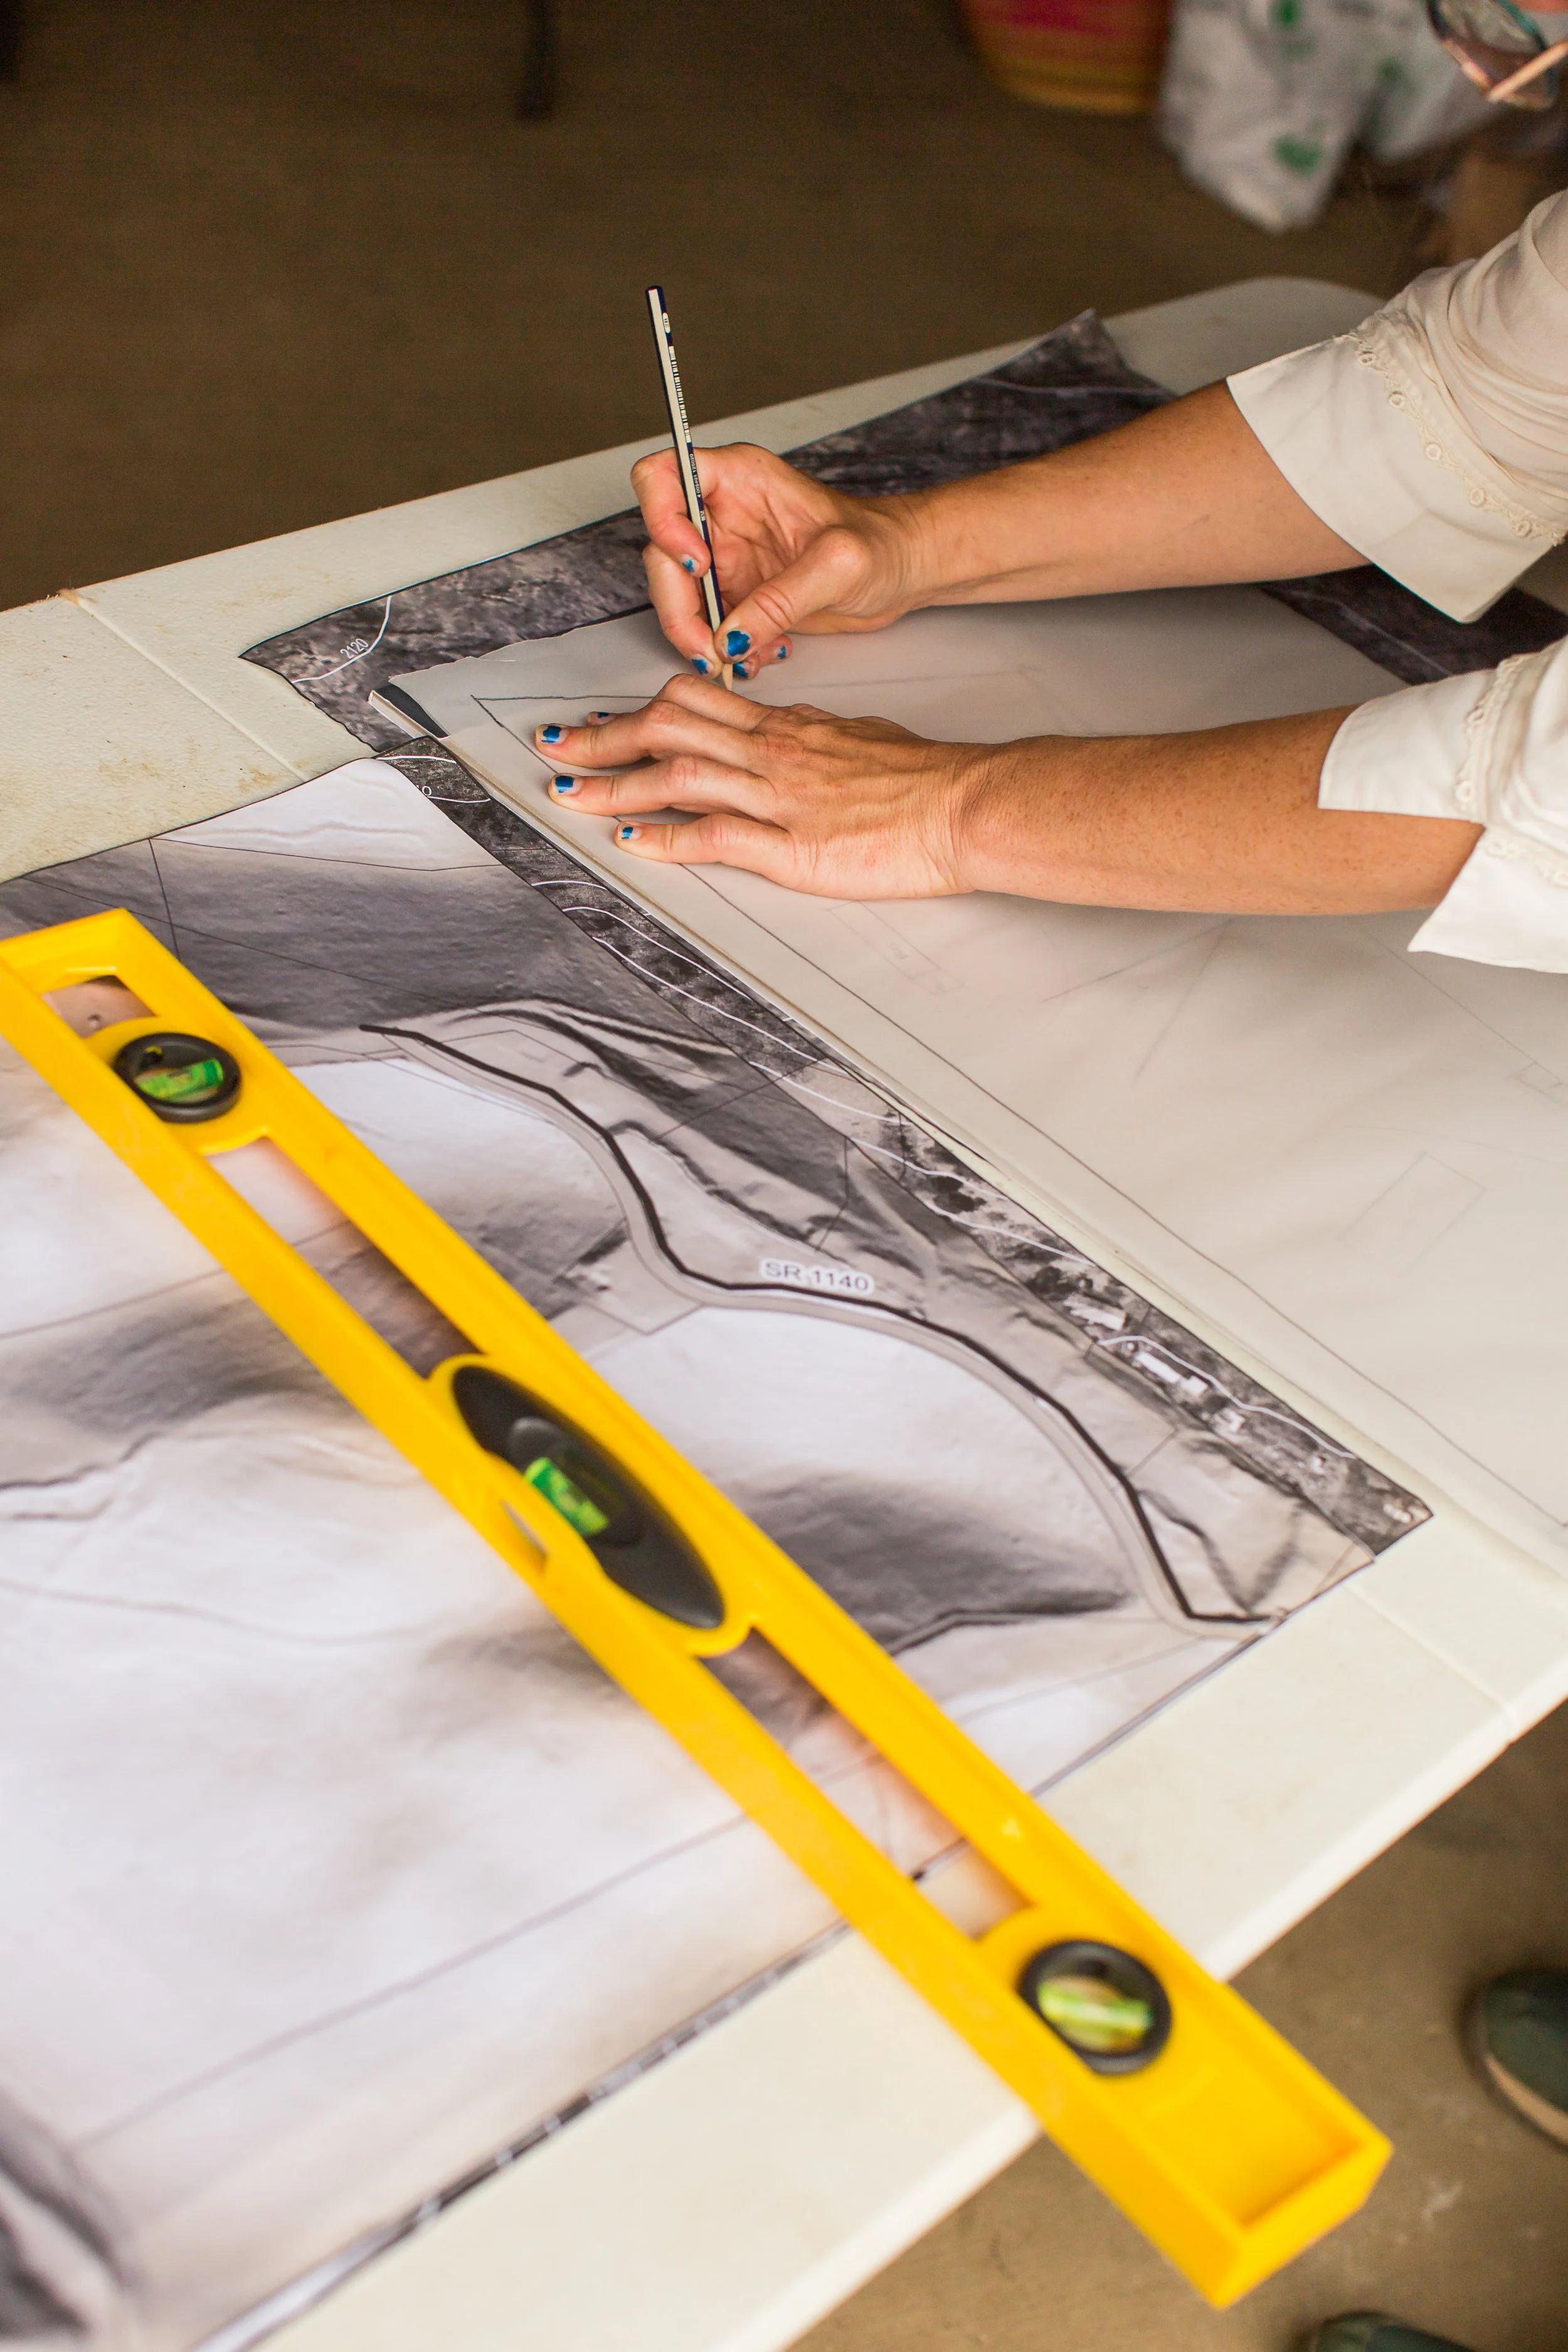
Trace your base map. Lay your first piece of tracing paper over your base image. Trace in marker ONLY the immovable objects such as your house, driveway, the road, your property lines. Do not use this piece of paper to trace on trees, existing garden beds, or any object that could conceivably be moved or removed. In a lighter line draw in things like where your utility lines connect to your house. If you are mapping a smaller space such as your deck or a small garden area this may be just a square or rectangle drawn to scale. Place a north arrow or compass on your base map.
Remember that this step is to help you dream, including everything that’s already there will limit you. Imagine you have the power to remove trees, or small buildings that are there. Allow yourself to play (what if….that tree was gone, what if the raised beds were not already placed etc)
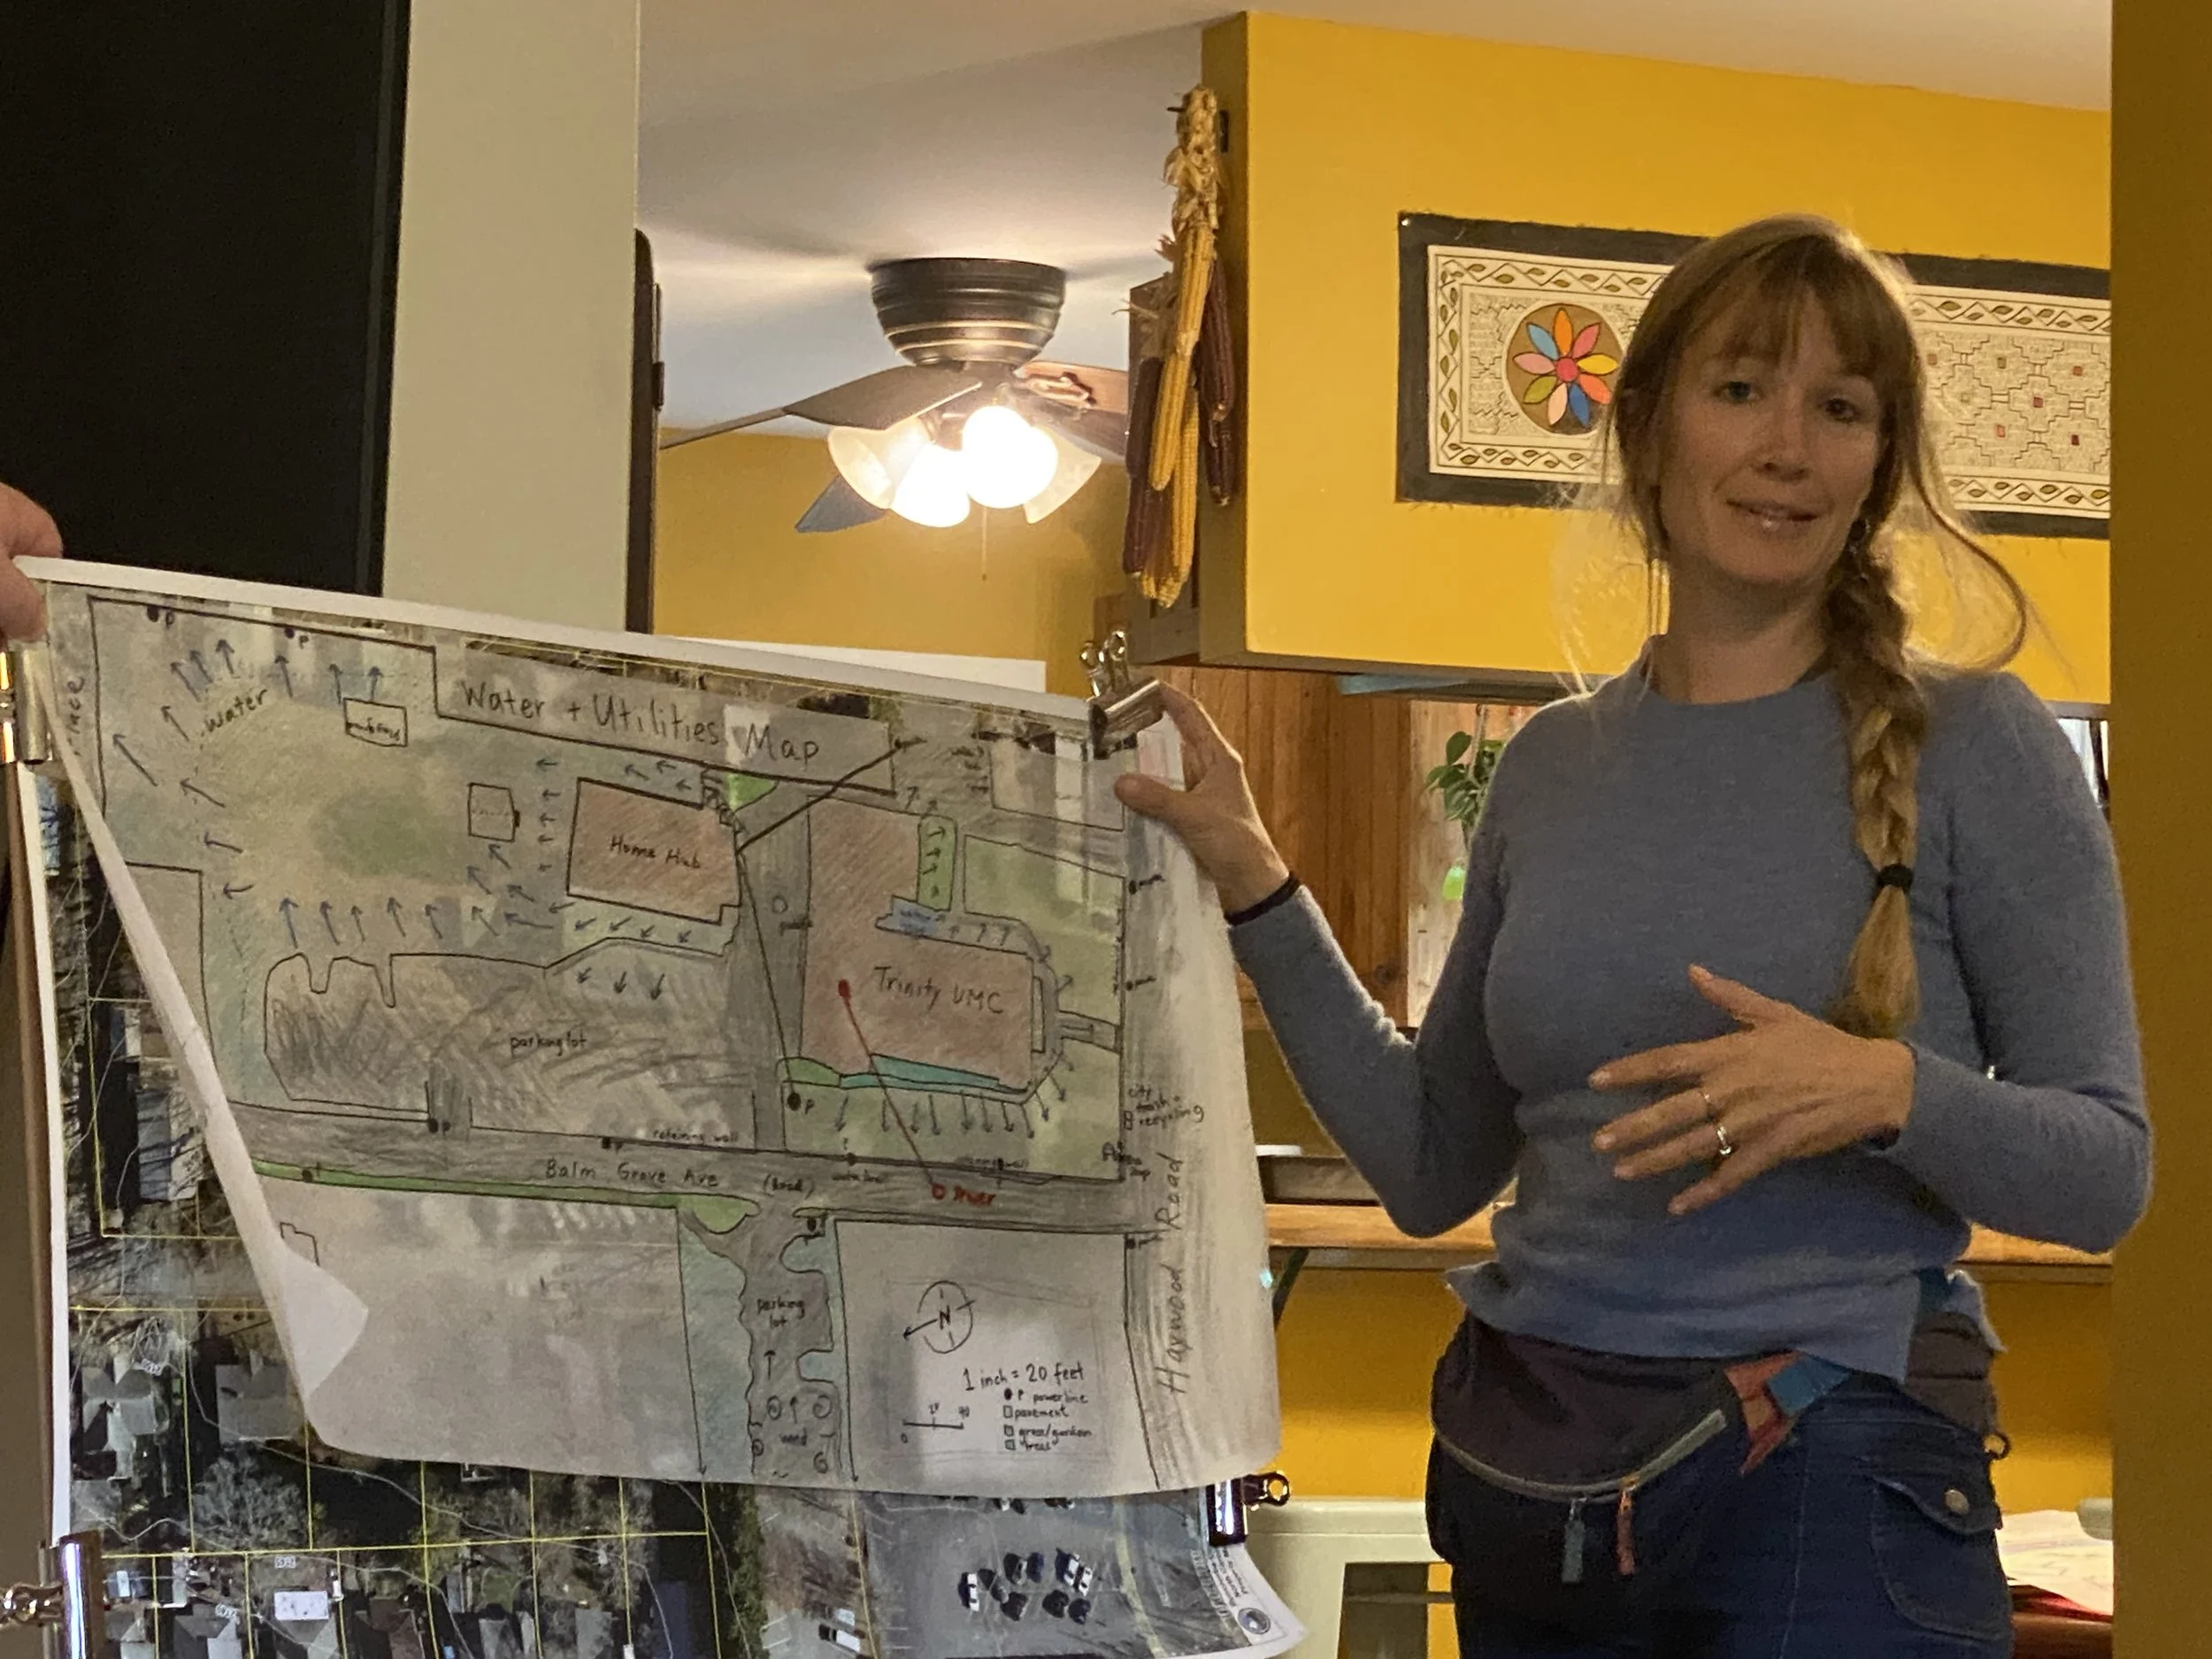
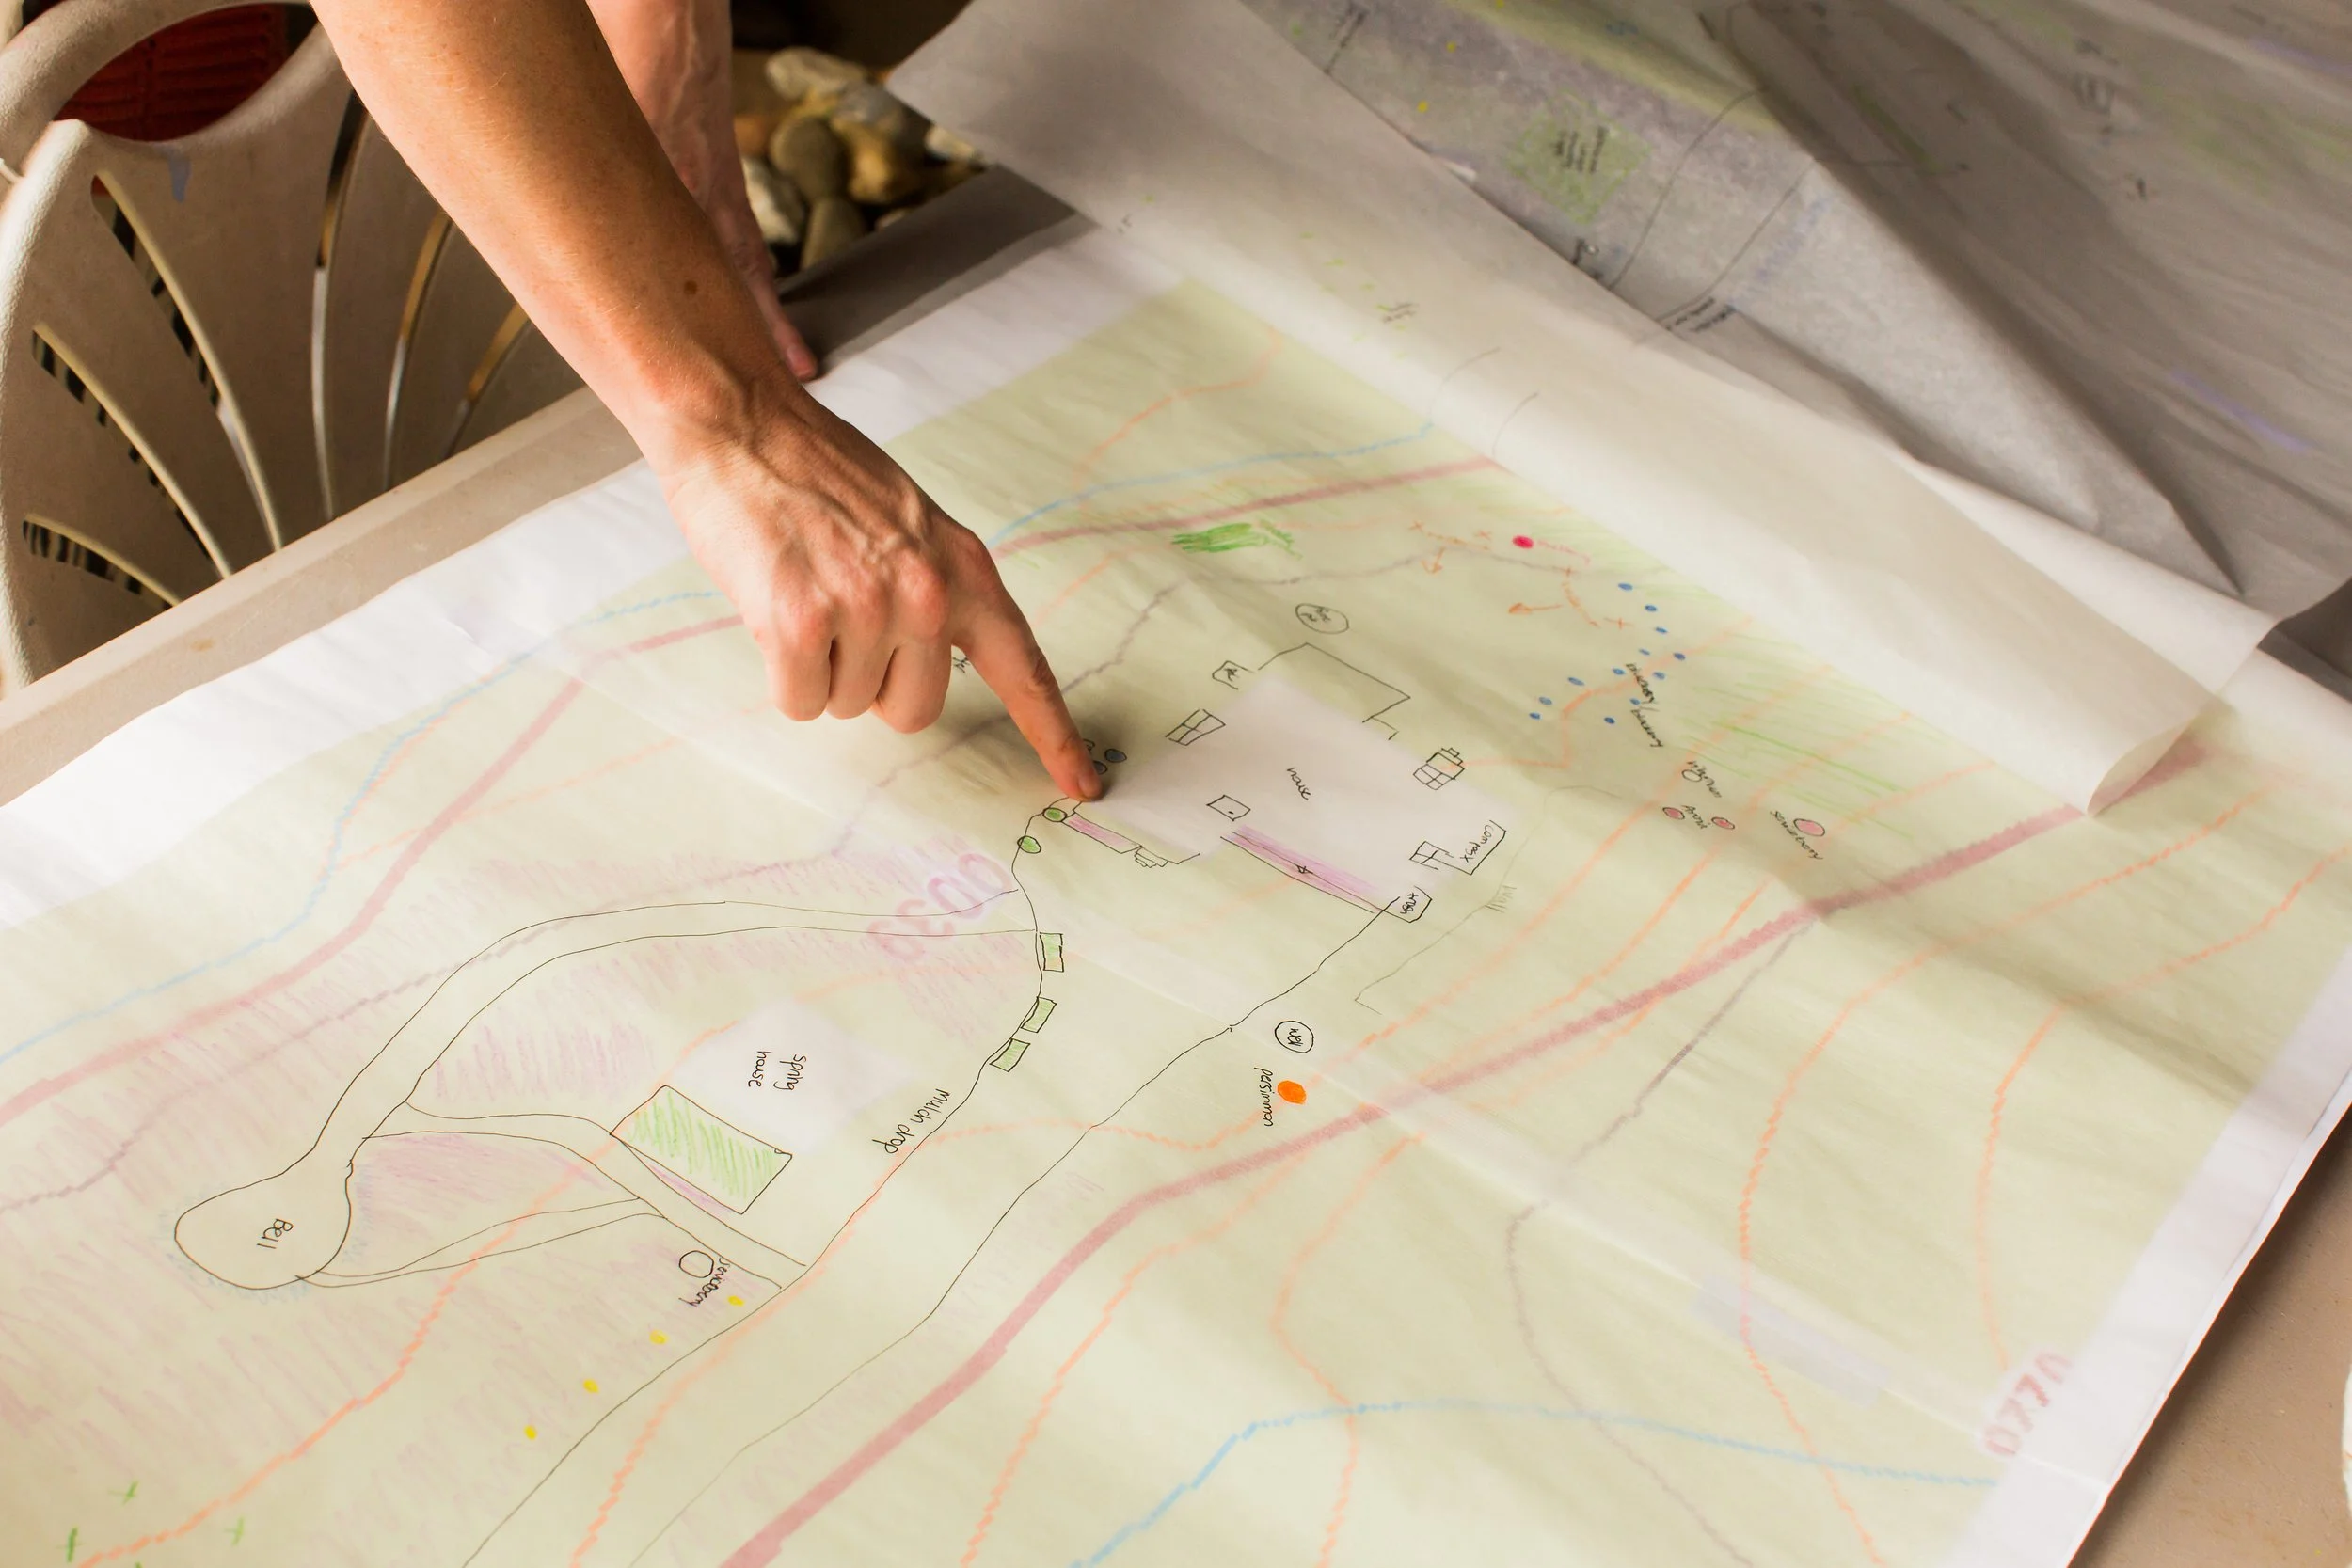
Draw your Zones, Sectors & Elevation map. Lay a fresh piece of tracing paper over your base map. You may lightly trace your base objects if you’d like but it’s not necessary if you can see them through the paper. Now begin tracing your zones 1-5. Here’s a good explaination of zones and sectores (until I write my own). If it’s a small space you may only have a zones 1-2. Think carefully about what you include in zone 1. It should only include the areas that you frequent the most such as the walkway between your door and where you park your car. Sectors can be drawn as lightly shaded areas or merely marked off. Some sectors that you might include would be sun/shade, where the water flows, noises from cars, neighbors or dogs, unpleasant smells, pollution or wildlife trails. If your land has a slope, indicate this in some way. If you have a large piece of land with a lot of slope you can use topo lines provided on your GIS image or from google earth. If you have a small piece of land merely indicate if it is sloped using arrows or shading.
Do a Needs and Yields Assessment of each Element. Elements are anything you want to include in the space. This could be plants, trees, sitting areas, domestic animals, play areas for children, paths etc. Anything you can dream of should go on this list, don’t hold back. On a separate piece of paper write down each element and figure out what it “needs” and what it “yields”. For examples an apple tree needs light, water, lots of space, good soil, pruning, harvesting etc. It yields apples, shade, beauty, wood, leaves etc. Don’t spend too much time on this, just think of a few needs and yields for each element.
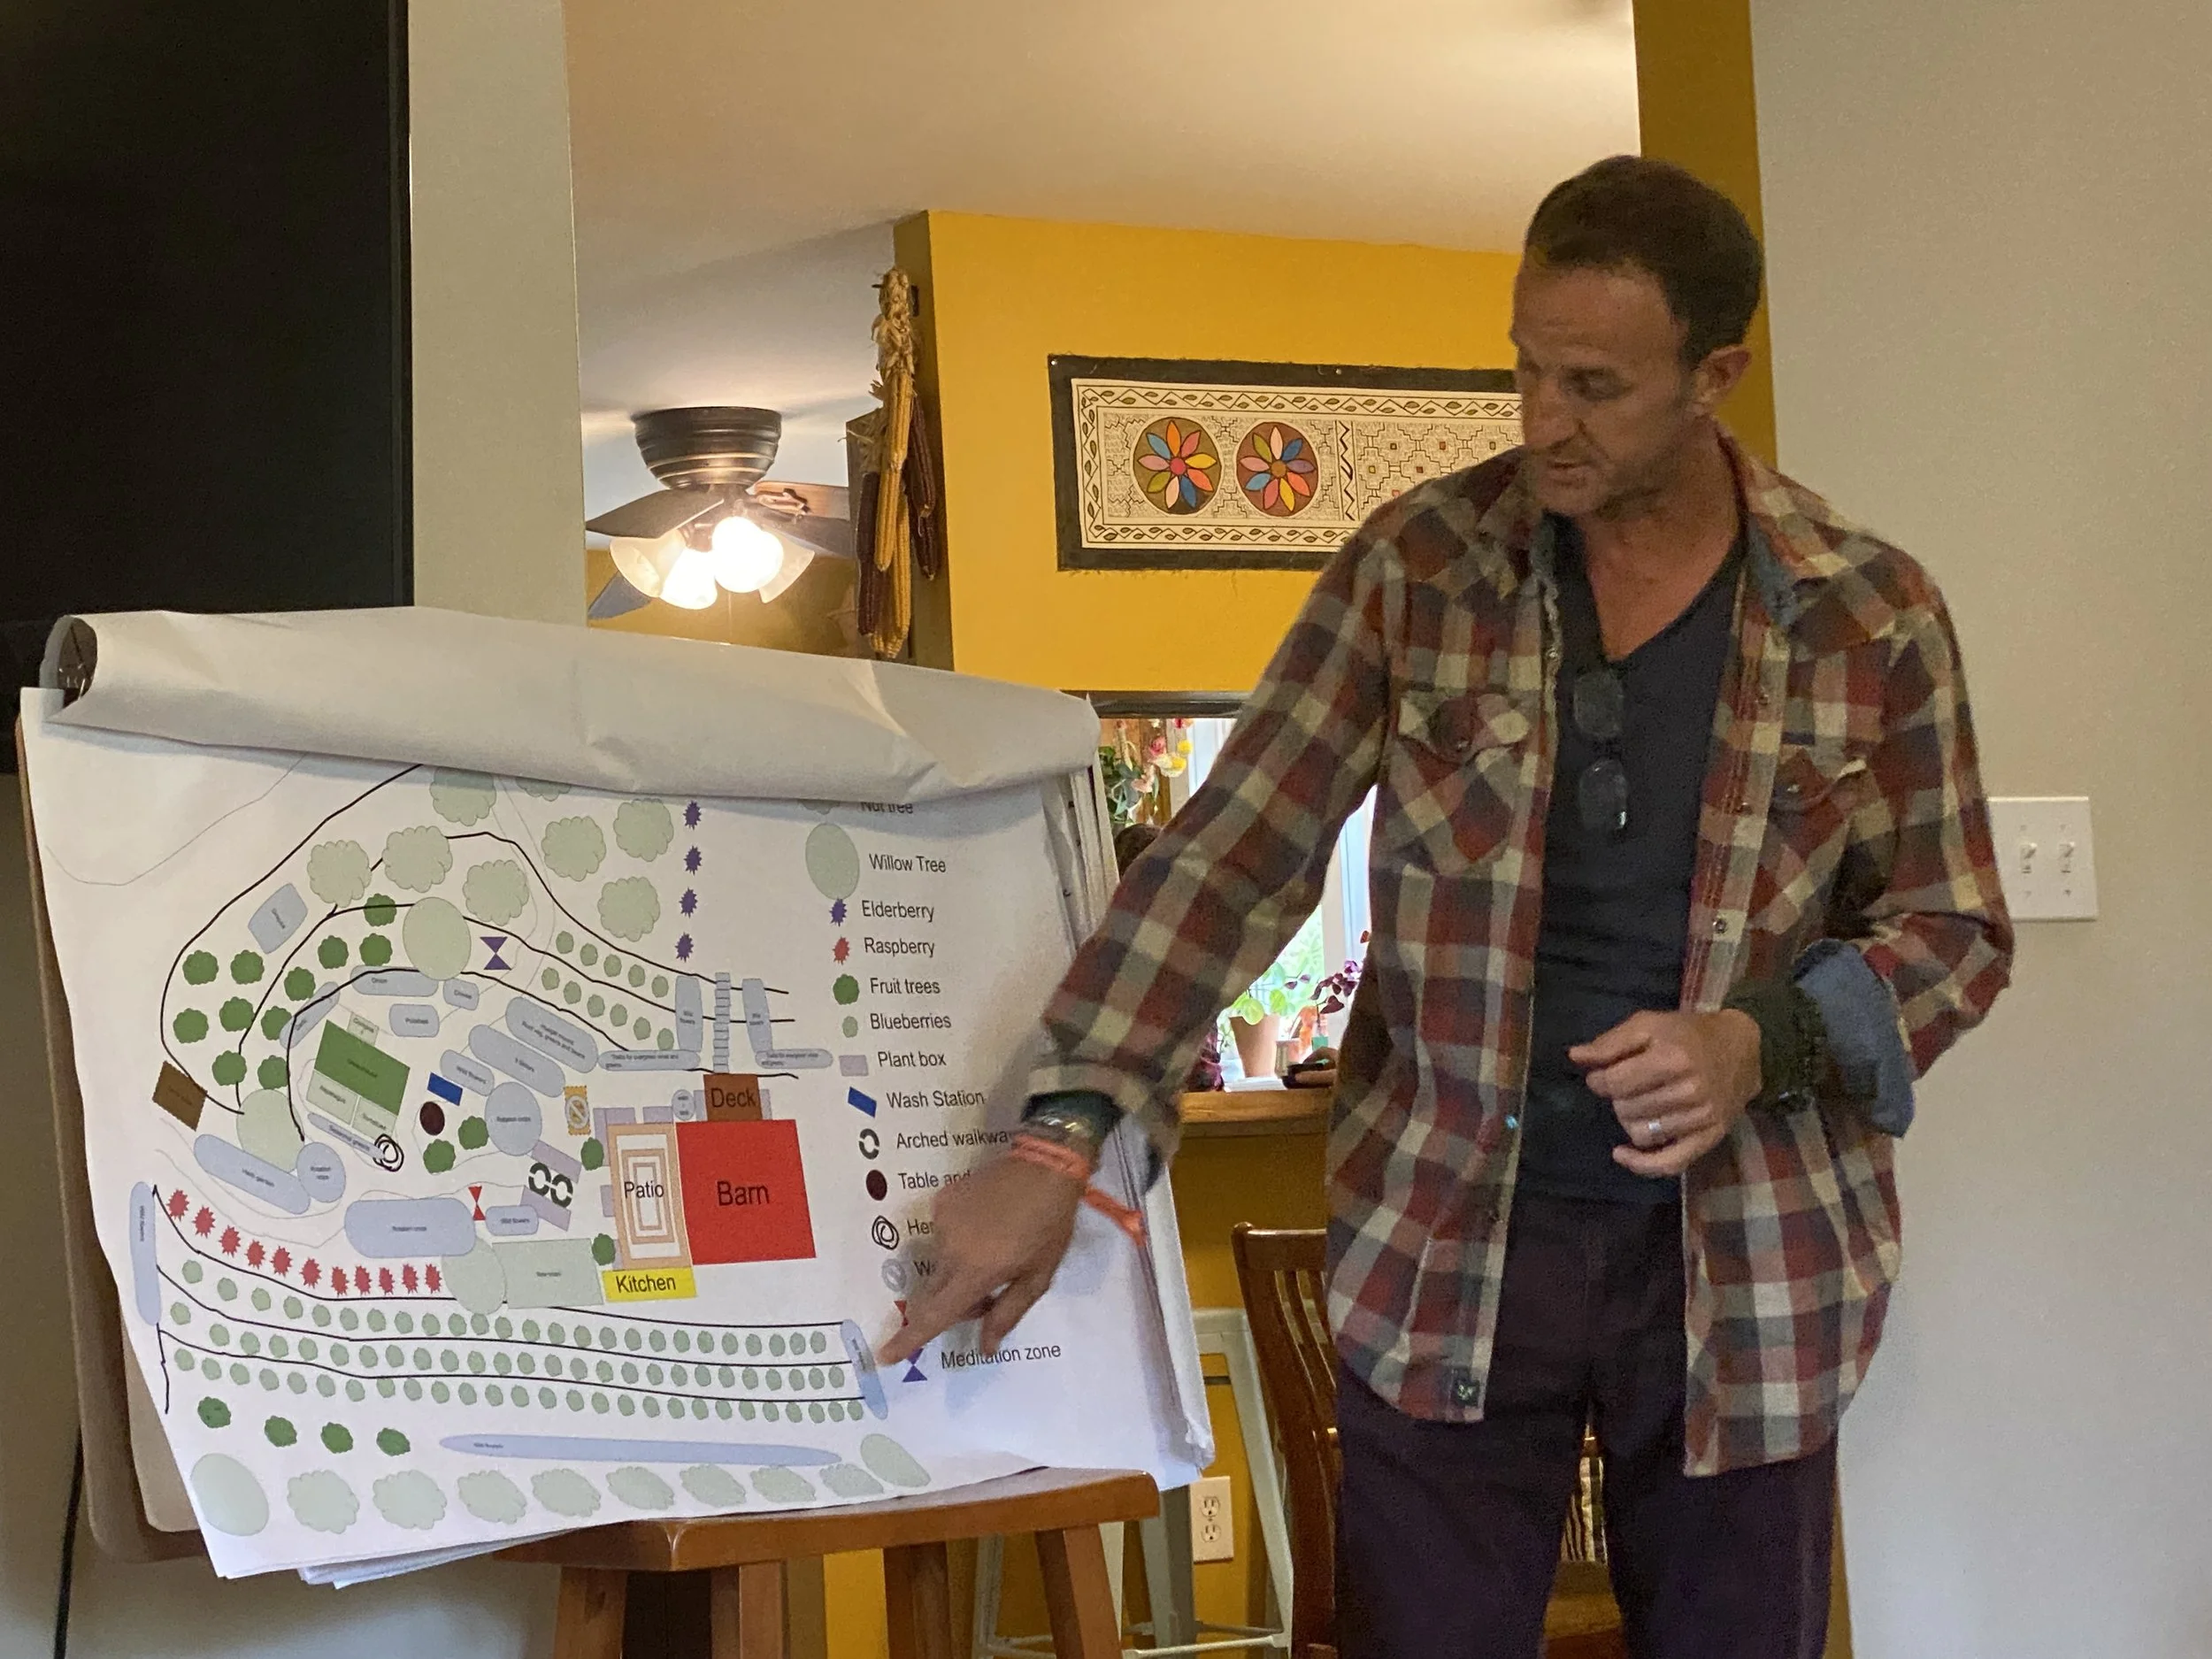
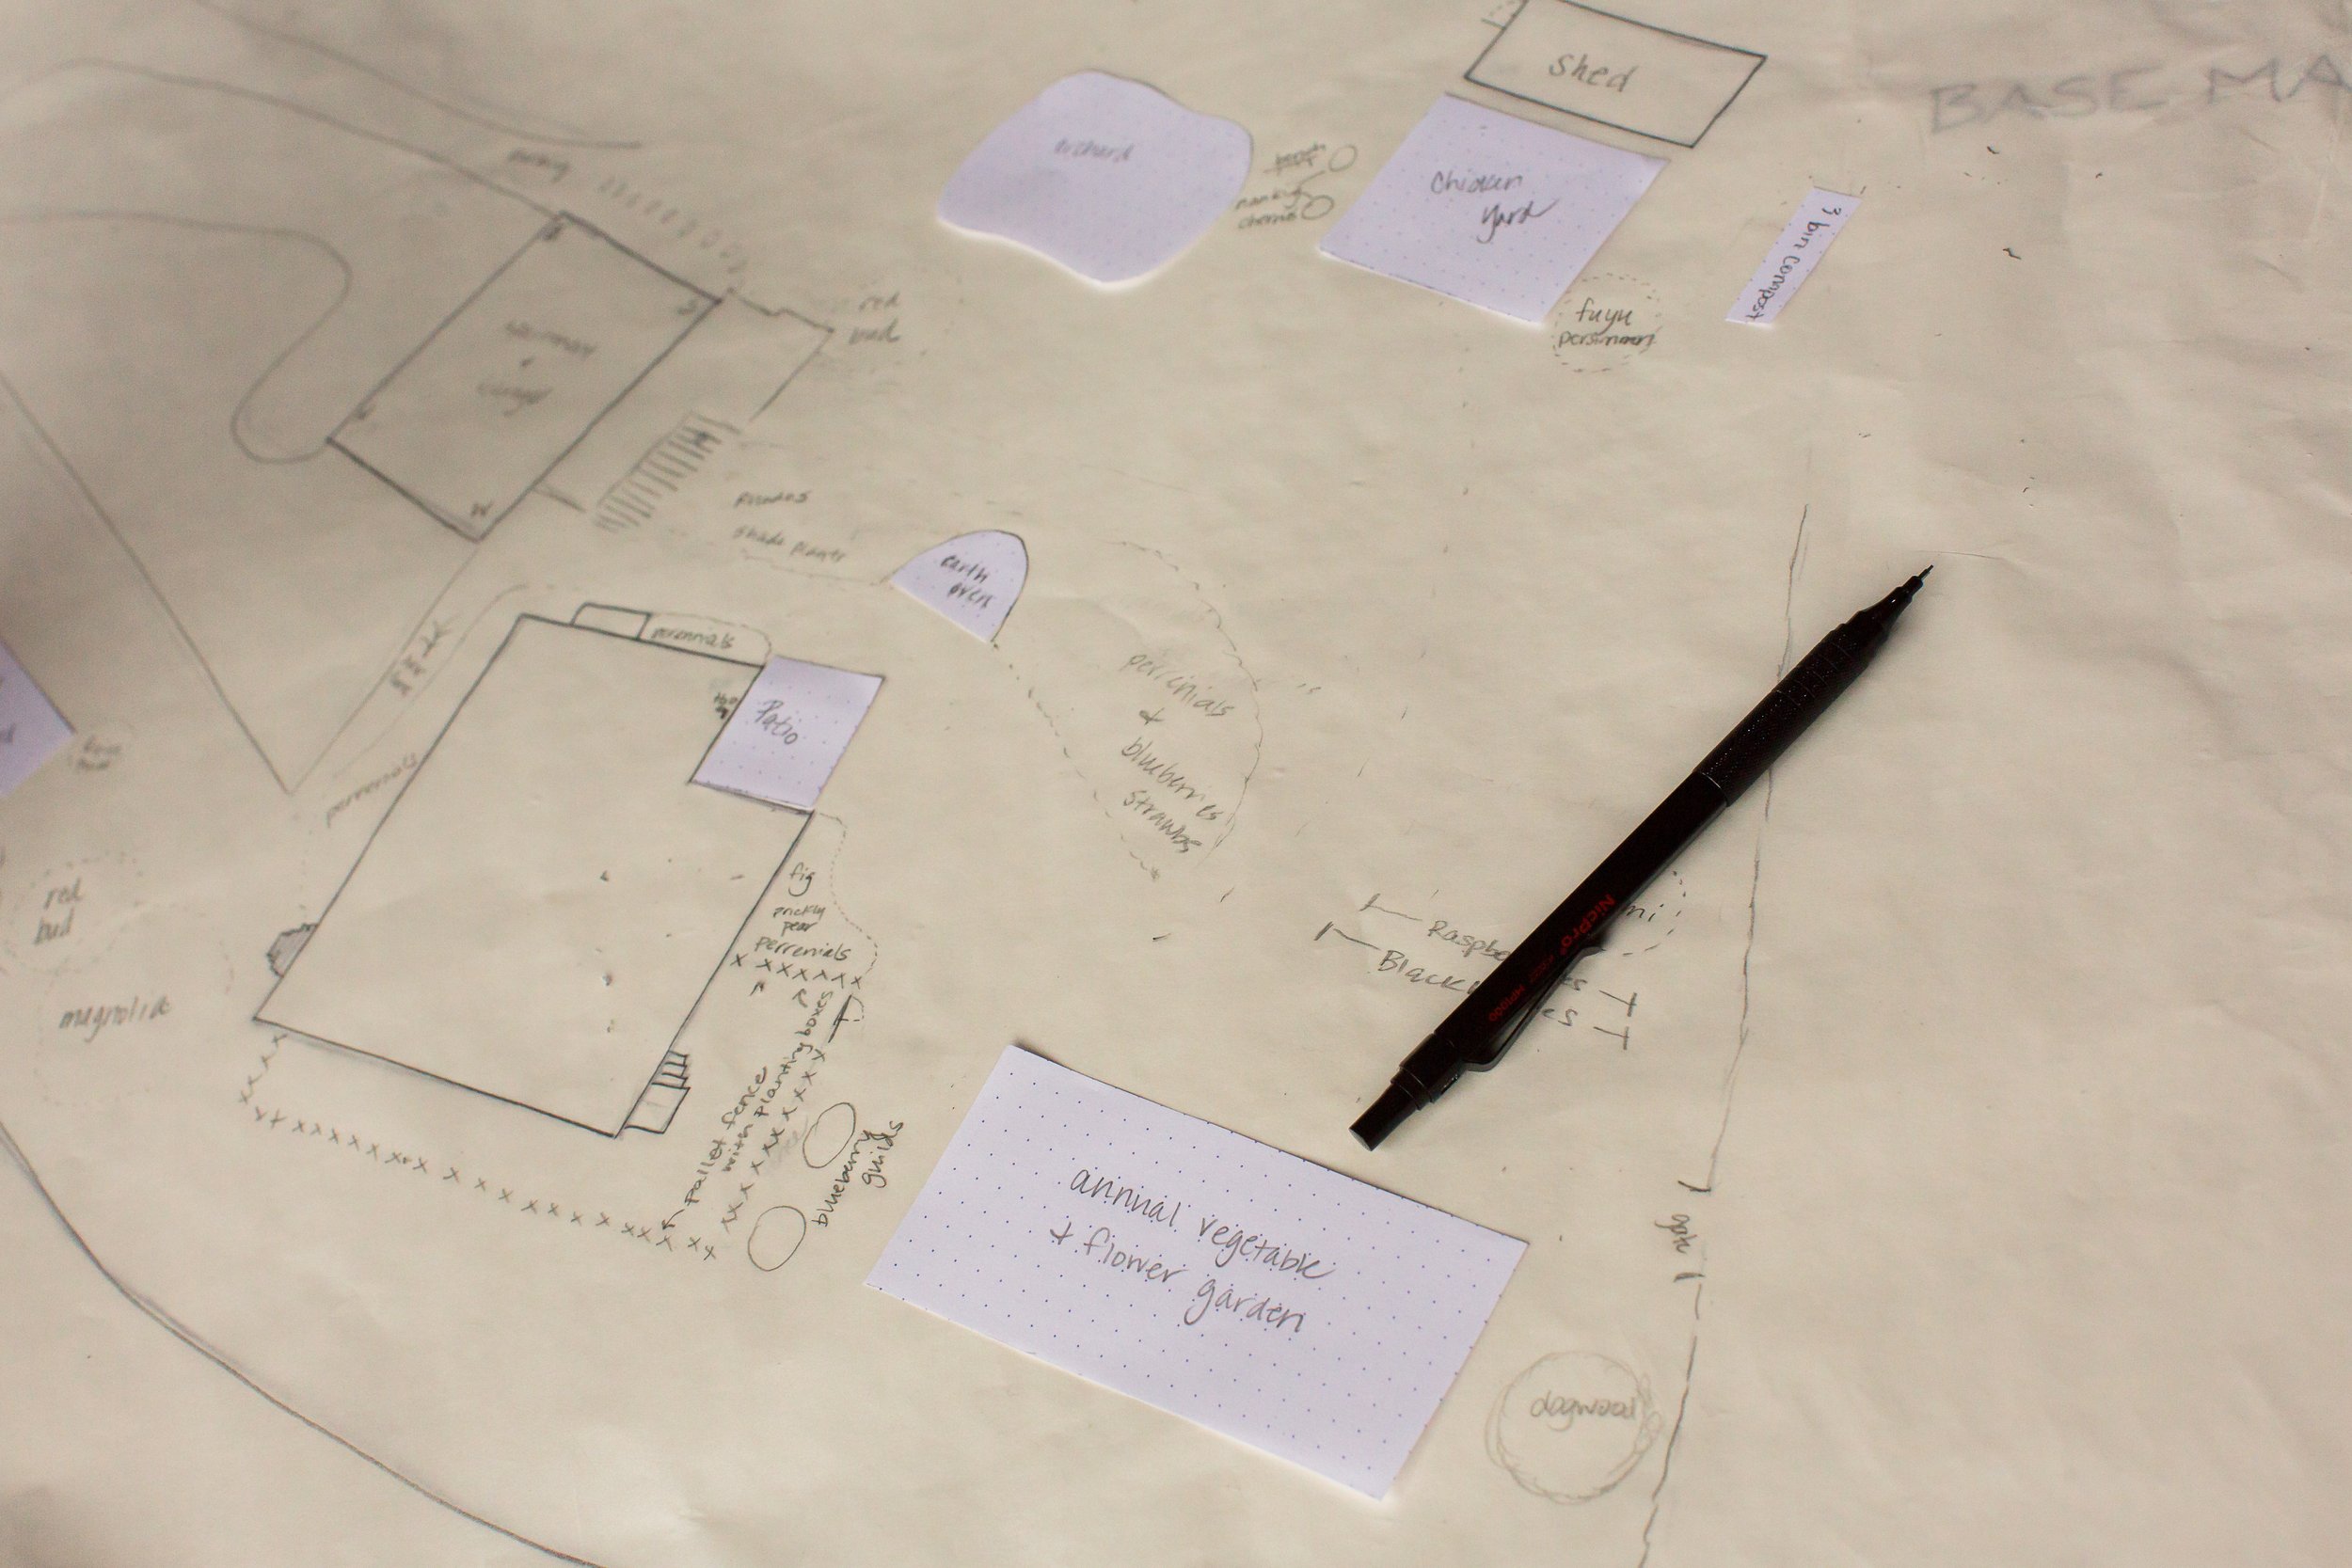
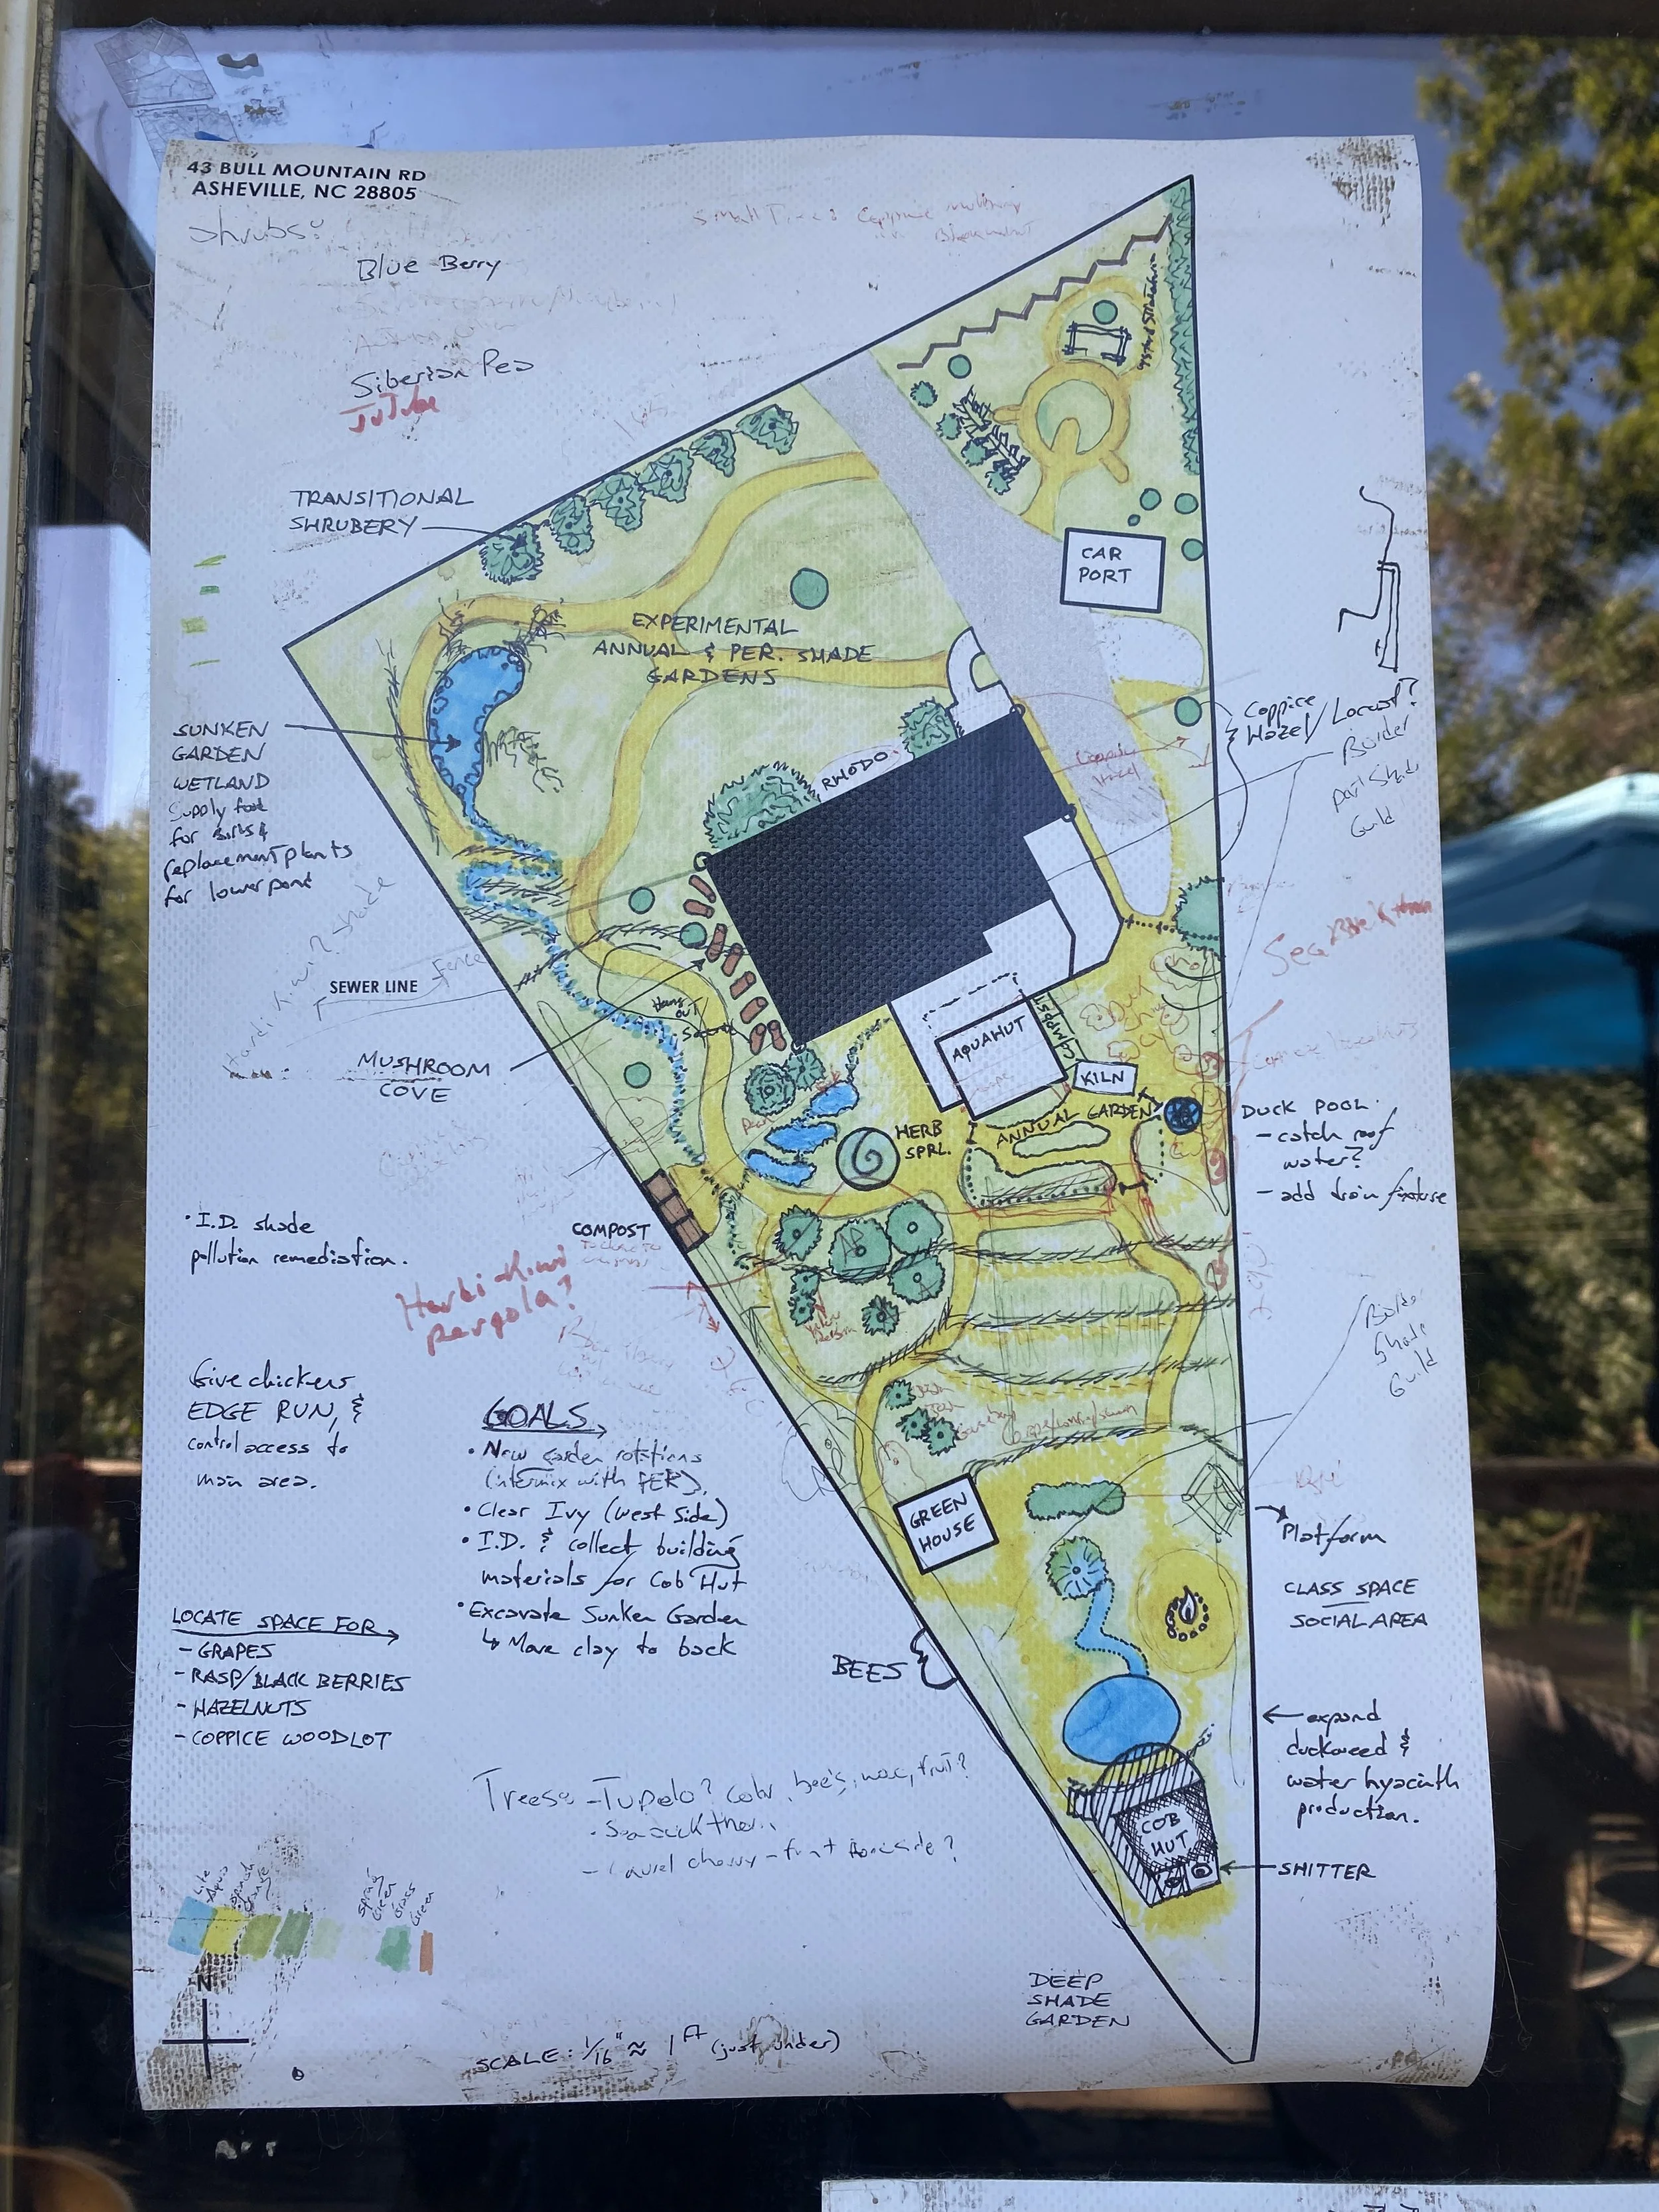
List and draw your Elements. Lay a new sheet of tracing paper and list your refined list of elements in the margins of the paper. Trace your base objects and the outline of your space on this paper. Now, with your zones and sectors in mind, start playing with where your elements should go. Put things that need you and you need the most in your zone one. For example if you harvest greens and herbs for dinner every day put a herb and greens garden right next to your front door, if shade and water needs allow. Or maybe if you are mapping your deck you put a container garden with herbs right next to your back door that leads to your kitchen. Put your bird feeder in view from a window you use in your house. Do your best to draw to scale but don’t drive yourself crazy. Let yourself play!
Move things around. Remove the last tracing paper and lay a new one down (or create movable elements). Force yourself to move some of your elements. Play the what if game…what if the compost was next to the chicken coop, what if the swings were on the other side of the driveway, what if the apple tree was by the seating area instead of in the orchard, what if I planted the blueberries here instead of there. What if I switched the goat barn and the chicken coop. Move things that seem to have an obvious place in your mind. If there is something that you can’t imagine anywhere else, move it. Do this step at least three times.
That’s it! Don’t take it too seriously. Let yourself make a map even if you feel unprepared. Even if you don’t know very many plant species or have never gardened. Even if your teachers told you have bad handwriting or can’t draw. If you can’t get a base image, make an imperfect base map. At the end you will have your first permaculture map and from there you can refin